What small detail can make a big difference in your home’s appearance? Wooden outlet covers provide a stylish upgrade while offering durability and a natural look that complements any décor. However, a poorly installed cover can lead to misalignment, gaps, or even safety concerns, removing the refined aesthetic you’re aiming for.
Meanwhile, this guide will walk you through everything you need to know about installing wooden outlet covers correctly. From selecting the right style to troubleshooting common issues, these expert tips will help you achieve a seamless, professional finish that enhances safety and design.
Tools and Materials You’ll Need
Before getting started, gather the following tools and materials. Having the right tools on hand will make the installation process smoother and help prevent potential mistakes. Double-check each item to ensure you fully prepare before starting the project.
Bear in mind the following tools and materials:
- Screwdriver (flathead or Phillips, depending on screws)
- Level
- Measuring tape
- Pencil or marker
- Sandpaper (for minor adjustments)
- Small shims (if needed for leveling)
Choosing the Right Wooden Outlet Covers
Selecting the right wooden outlet cover is essential for visual appeal and functionality. The right choice ensures a snug fit, enhances the room’s design, and prevents installation issues.
Consider the following aspects:
- Size:Ensure the cover matches the dimensions of your electrical outlet.
- Design:Choose a finish that complements your décor.
- Compatibility:Double-check that the outlet cover aligns with the existing electrical setup.
- Material quality:Opt for high-quality wood to ensure longevity and resistance to wear.
- Ease of maintenance:Select a finish that is easy to clean and maintain over time.
Preparing for Installation
Proper preparation ensures a smooth and hassle-free installation process. Correctly setting up helps avoid misalignment, safety hazards, and unnecessary adjustments.
Proceed with the following steps below:
- Turn off power:Safety first! Switch off power to the outlet at the circuit breaker.
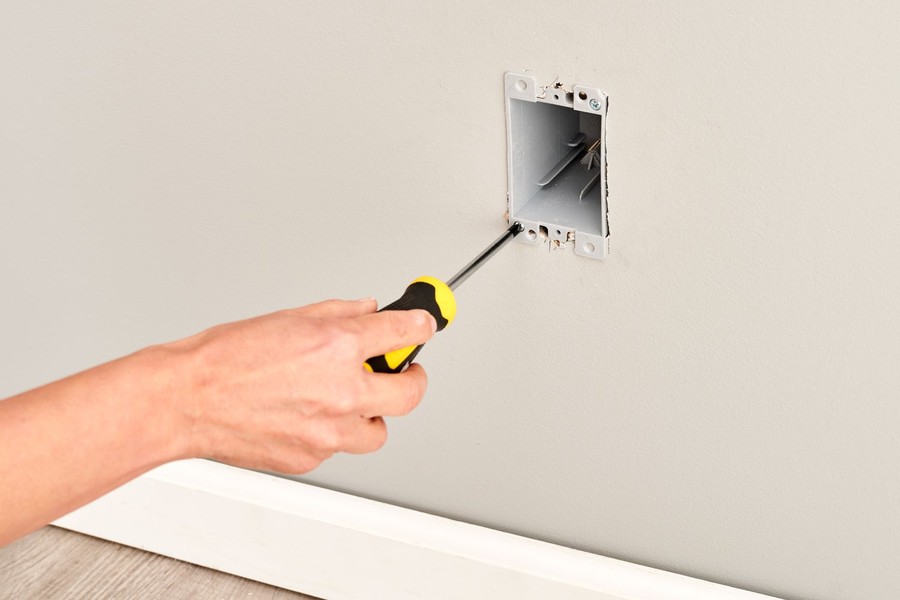
- Remove the old cover:Carefully remove the existing outlet cover using a screwdriver. Pull gently to avoid causing any damage to the wall.
- Inspect and clean the area:Check for any obstructions, uneven surfaces, or dust buildup that could affect installation.
- Check for loose wiring:Secure all wires correctly before installing the new cover.
- Test fit the cover:Place the new cover over the outlet before securing it to ensure a proper fit.
Measuring and Aligning for a Perfect Fit
Accurate measurements and alignment are key to achieving a professional-looking installation. Proper positioning helps maintain both functionality and aesthetics.
Keep the following factors in mind:
- Measure the outlet opening:Use a measuring tape to confirm that the wooden outlet cover matches the size of the electrical box.
- Check for warping:Ensure the cover lays flat against a smooth surface before installing.
- Use a level:Align the cover with the wall to prevent uneven placement.
- Mark screw holes:Lightly use a pencil or marker to indicate where to place the screws.
- Ensure proper clearance:Ensure the cover does not interfere with the outlet functionality or surrounding trim.
Installing the Wooden Outlet Cover
A careful installation ensures a secure fit and prevents damage to the outlet cover. Proper techniques will keep the cover in place while maintaining its aesthetic appeal.
These are the following steps to do:
- Position the cover:Place the wooden outlet cover over the outlet carefully.
- Secure with screws:Insert screws into the designated holes and tighten gradually. Avoid over-tightening, which can cause the wood to crack.
- Make necessary adjustments:If the cover feels too tight or loose, adjust the screws slightly for a snug fit without forcing it into place.
- Check alignment:Use a level to confirm that the cover is aligned correctly before finalizing the installation.
- Tighten gradually:Alternate tightening screws to ensure even pressure and prevent warping.
Troubleshooting Common Issues
Even with proper preparation, minor installation challenges might occur. Identifying and addressing these common problems can help achieve a flawless fit.
Consider the following troubleshooting solutions:
- Cover doesn’t sit flush:Use small shims to check for uneven wall surfaces.
- Loose or misaligned cover:Adjust the screw placement and confirm the correct size of the cover.
- Minor size mismatches:Light sanding can help achieve a better fit if the cover is too large.
- Screw holes misaligned:If the pre-drilled holes do not line up, re-drill them slightly to improve fit.
- Cover interferes with outlet use:If inserting plugs becomes difficult, ensure the cover is not too thick or obstructs the openings.
Finishing Touches for a Seamless Look
Small finishing details can enhance the durability and appearance of your wooden outlet covers. These final steps will help maintain a polished and professional look.
Here are the following factors:
- Use matching screws:Choose screws that blend with the cover’s finish for a polished appearance.
- Seal or stain for protection:A protective coating can enhance durability and maintain the wood’s natural beauty.
- Final check:Ensure the cover is secure and level before turning the power back on.
- Polish or buff the surface:A quick polish can enhance the wood’s appearance and remove minor imperfections.
- Inspect regularly:Periodic checks can help maintain the cover’s integrity and catch any signs of wear early.
Witness the Transformation Today!
Proper installation of wooden outlet covers not only ensures safety but also amplifies the elegance of your space. Following these steps will prevent common issues and give your space a refined look that stands the test of time. Remember, accuracy in each phase, from measuring to the final touches, makes a significant difference.
So, are you ready to transform the ordinary into something extraordinary with your own two hands? Take control, engage with the process, and witness the transformation. Embrace the journey of enhancement—why wait to make your space spectacular?